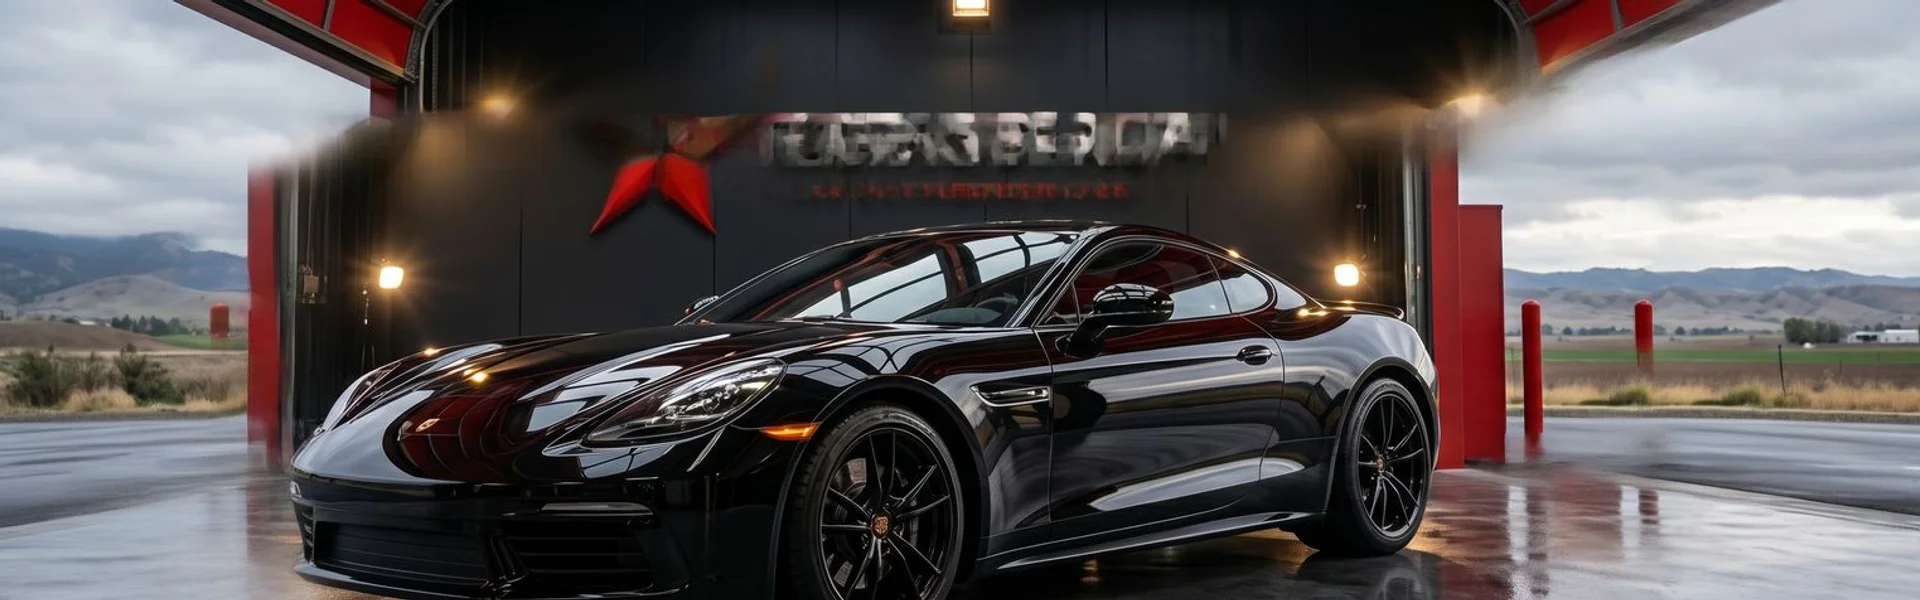
You know how frustrating it is to see swirl marks multiplying on a once-flawless vehicle. People often ask us, will paint correction damage clear coat? Done with precise measurement, paint correction safely restores that mirror finish.
We see the results of this guesswork constantly in our US detailing bays. A burned-through finish requires a complete panel repaint, which easily costs between $3,000 and $6,500 in 2026.
The clear coat is your vehicle’s only defense against UV rays and oxidation.
Our team is going to break down the actual math behind clear coat thickness. Then, the guide will explore the specific removal rates of different polishing stages to show you how to safely manage the process.
How clear coat thickness works
Modern factory clear coats on US vehicles typically measure just 1.5 to 2.0 mils thick. That translates to about 38 to 50 microns of total protective material.
We always remind clients that this microscopic layer does a massive amount of work. Major automotive paint suppliers like PPG Industries and Axalta engineer these thin coatings to block harsh sunlight. The minimum clear coat needed for UV protection is around 25 microns.
Below that critical threshold, the underlying color coat is completely exposed. Paint will fail visibly within a few years if those factory UV inhibitors are removed. The sun bakes the unprotected color layer, causing the familiar chalky fading and peeling you see on older cars.
Our technicians look for specific warning signs of thinning clear coat. Watch out for these common indicators of paint failure:
- Dull patches: The gloss begins to look slightly milky or hazy.
- Rough texture: The surface feels dry or chalky to the touch.
- White flaking: The top layer visibly separates from the color coat.
- Loss of water beading: Water sheets flat instead of forming tight droplets.
What correction removes
Different polishing methods remove distinct amounts of clear coat material to level out scratches. A gentle single-stage enhancement might only shave off 1 to 3 microns.
We carefully track these removal rates depending on the exact pad and liquid compound combination. The type of machine also drastically changes the friction and cutting speed.
| Correction Stage | Average Microns Removed | Best Used For | Typical Tools |
|---|---|---|---|
| Single-Stage Enhancement | 1 to 3 microns | Light swirl marks and minor wash scratches | Rupes LHR15 DA Polisher, Soft Foam Pad |
| Two-Stage Correction | 3 to 6 microns | Moderate defects and water etching | Medium Cut Foam Pad, Menzerna Polish |
| Three-Stage Show Correction | 5 to 10+ microns | Deep scratches and heavy oxidation | Heavy Cutting Pad, Aggressive Compound |
Our detailing protocol always prioritizes leaving as much factory paint intact as possible. Removing 10 microns during a heavy correction takes away nearly a quarter of your total UV protection.
Math you can do at home
Calculating your remaining clear coat helps you visualize the safety margins of detailing. A brand new factory finish usually starts with 50 microns of clear coat.
We strongly recommend doing this simple math before authorizing any heavy machine work. Here is how different scenarios affect your protective layer:
- Safe Margin: A single-stage correction removes roughly 3 microns, leaving you with 47 microns of protection.
- Barely Safe: Three-stage correction without measurement often removes 10 to 15 microns. That leaves you with 35 to 40 microns.
- Approaching Unsafe: Two careless rotary buff jobs over the years strip away 20 or more microns. The remaining clear coat drops to 30 microns or less.
Our industry sees a lot of strike-through damage where detailers accidentally burn right into the color base coat. This permanent damage happens instantly when the math is ignored.
Will paint correction damage clear coat? Why most damage happens
Paint damage typically occurs when operators use aggressive cutting tools without checking the surface depth first. A high-speed rotary buffer paired with a heavy wool pad removes clear coat incredibly fast.
We constantly fix mistakes caused by the outdated buff and shine approach. Many shops skip the crucial step of testing a small panel first. They just grab a heavy DeWalt rotary machine and a harsh abrasive compound, assuming all paint is the same.
These careless practices lead directly to permanent issues. The most common causes of clear coat damage include:
- Using aggressive compounds with high removal rates.
- Skipping measurements before, during, or after the polishing process.
- Failing to use a test panel to find the least aggressive method.
- Performing repeated heavy corrections over short periods of time.
- Applying too much physical pressure to the polishing machine.
Our training emphasizes that modern Japanese cars often have much softer paint than German vehicles. Using an aggressive pad on soft paint will chew through the protective layer in seconds.
What we do differently
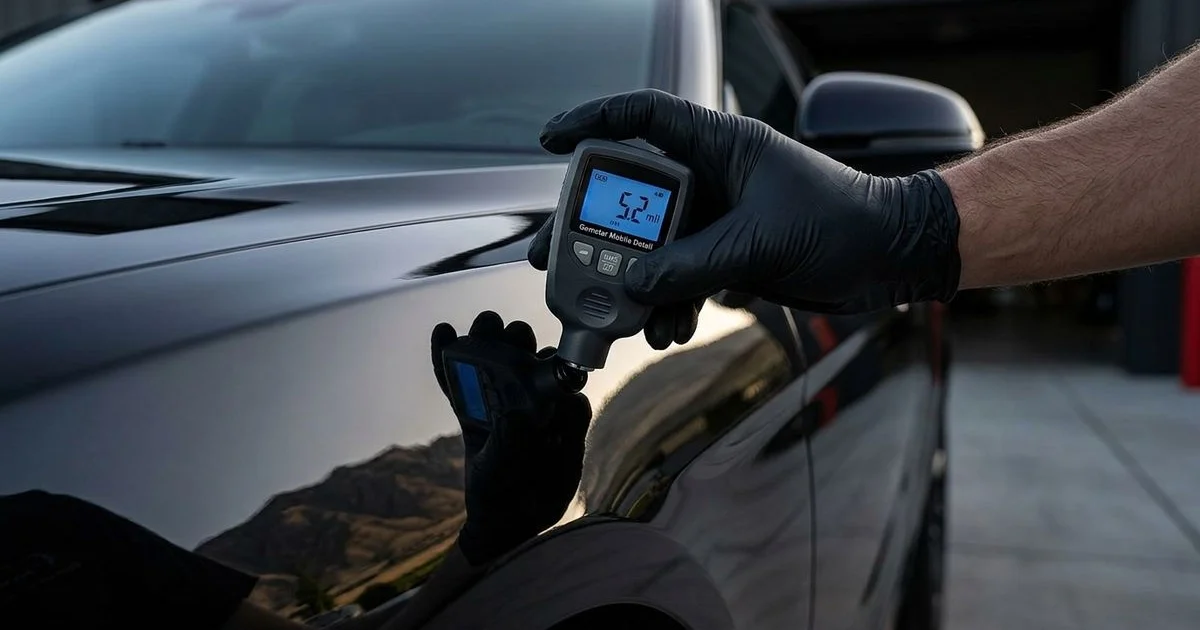
Professional paint correction requires precise measurement before a machine ever touches the vehicle. Industry-standard tools like the DeFelsko PosiTest DFT gauge provide highly accurate micron readings.
We follow a strict, data-driven test panel approach to find the lowest-cut combination that still works. The process always starts by testing a small, inconspicuous section of the car. Here is the exact safety protocol:
- Measure paint depth at multiple spots across every single panel.
- Perform a test panel correction using the least aggressive pad and polish.
- Measure the test area again to calculate the exact removal rate.
- Execute the full correction while performing spot checks throughout the day.
- Take a final measurement to confirm the removal remained within safe limits.
Our technicians log these numbers so you have a permanent record of your vehicle’s clear coat health. This transparency ensures you never have to guess how much protective material is left.
Practical safety
A correctly performed correction actually removes less clear coat than a year of running through automated brush car washes. The risk is not the correction itself, but rather correction done without precise measurement.
We often explain that those spinning nylon bristles at the local gas station physically scratch your paint every single visit. Over 6 to 12 months, the constant abrasion wears down the clear coat unevenly. A professional, measured polish simply levels the surface smoothly.
Our customers are often surprised to learn how safe data-driven polishing really is. So, will paint correction damage clear coat?
It only happens when you choose a process that values speed over careful measurement. To review the exact steps involved, you can see paint correction tiers on our service page.